3-Dimensional Tic-Tac-Toe
See an update about 3-D Tic Tac Toe here.
There are lots of Tic-Tac-Toe (Noughts and Crosses, whatever) games and strategies out there, but not many truly 3-dimensional games. There are variations which require players to stack a piece on top of a previously played piece, which changes the game. There are games made with a 4-by-4-by-4 array, which eliminates the problem of the first player always winning on the third move, as happens with a 3 by 3 by 3 array. And there are virtual games and formats to play on a single sheet of paper. But there aren’t many ways to play Tic-Tac-Toe in three dimensions the same way it’s played in two.
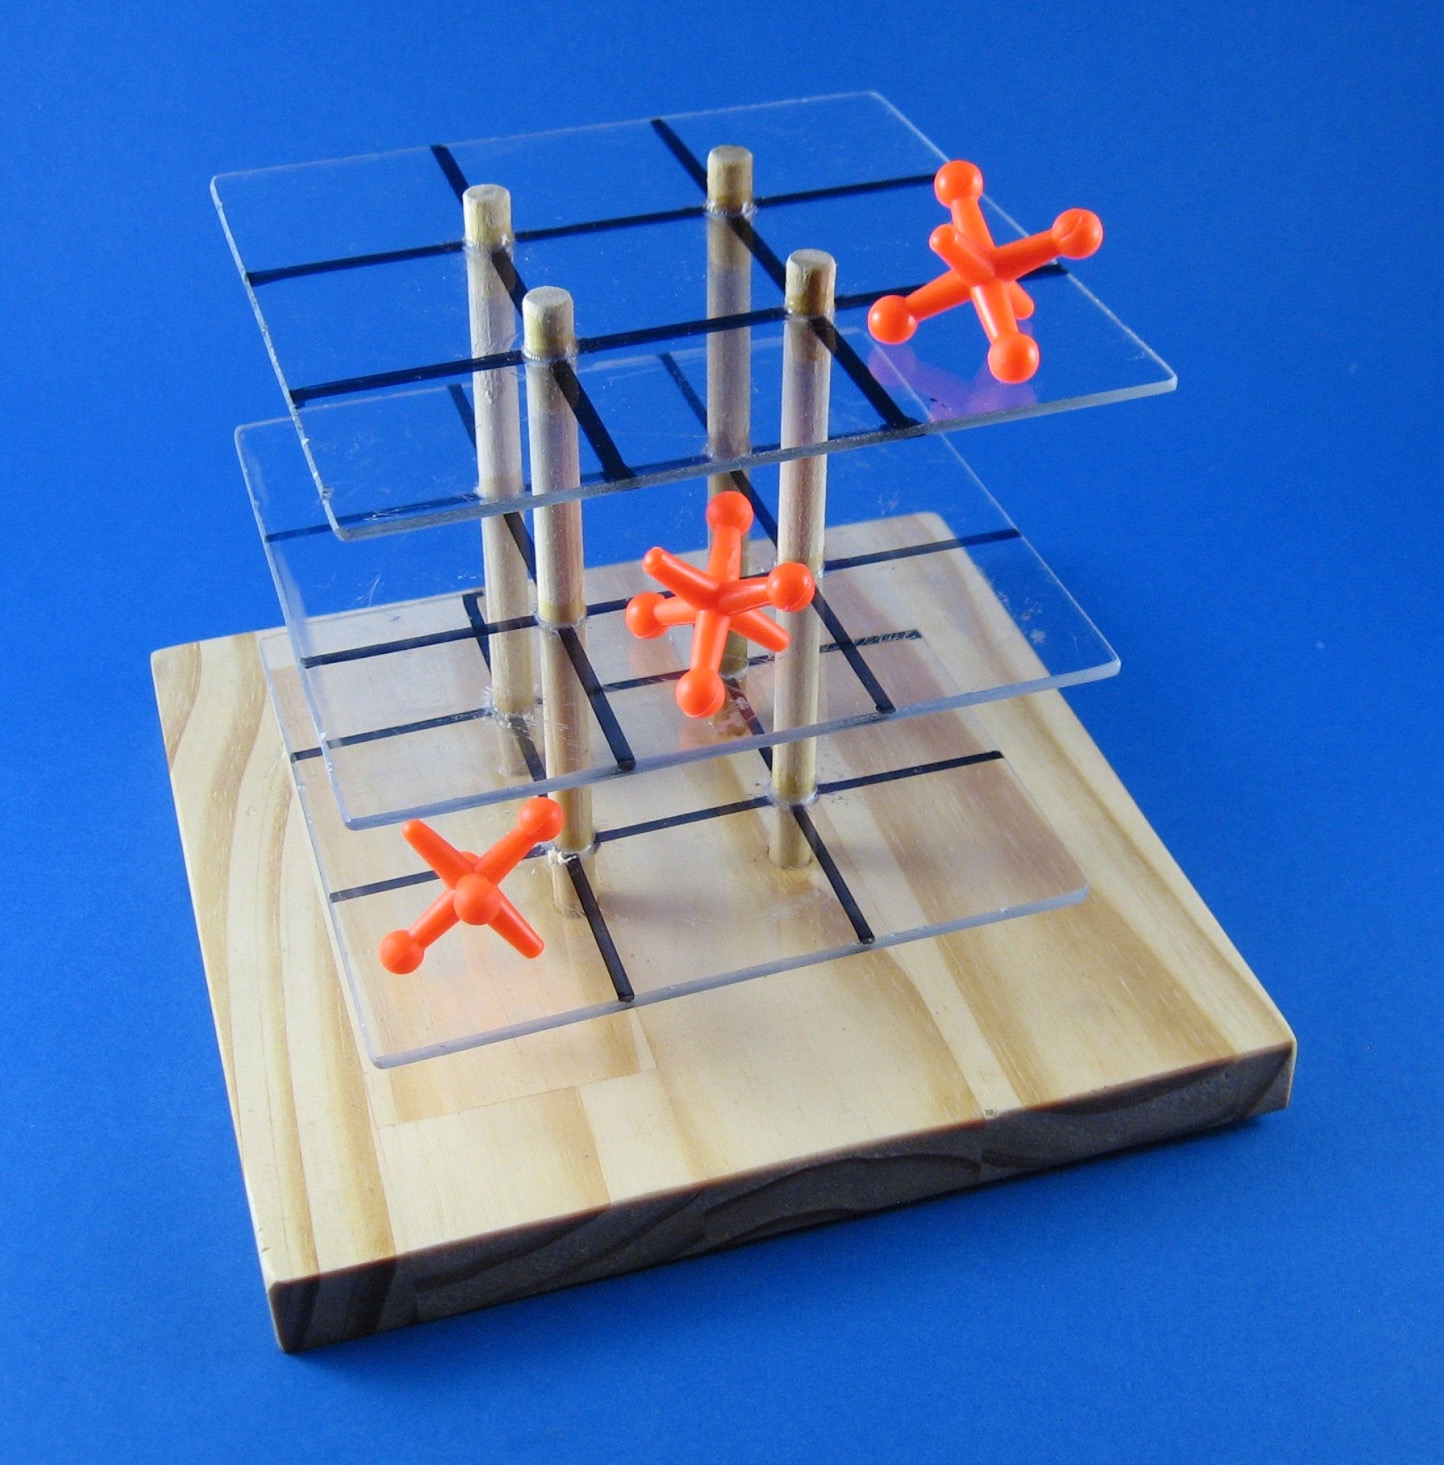
Here’s a solution. This is a 3 by 3 by 3 array that allows players to play in any space in any order. The one rule change is that the center space is not allowed on the very first move.
The first player will always win even with that rule change, however, as long as the game ends with the first “three in a row.” So it doesn’t.
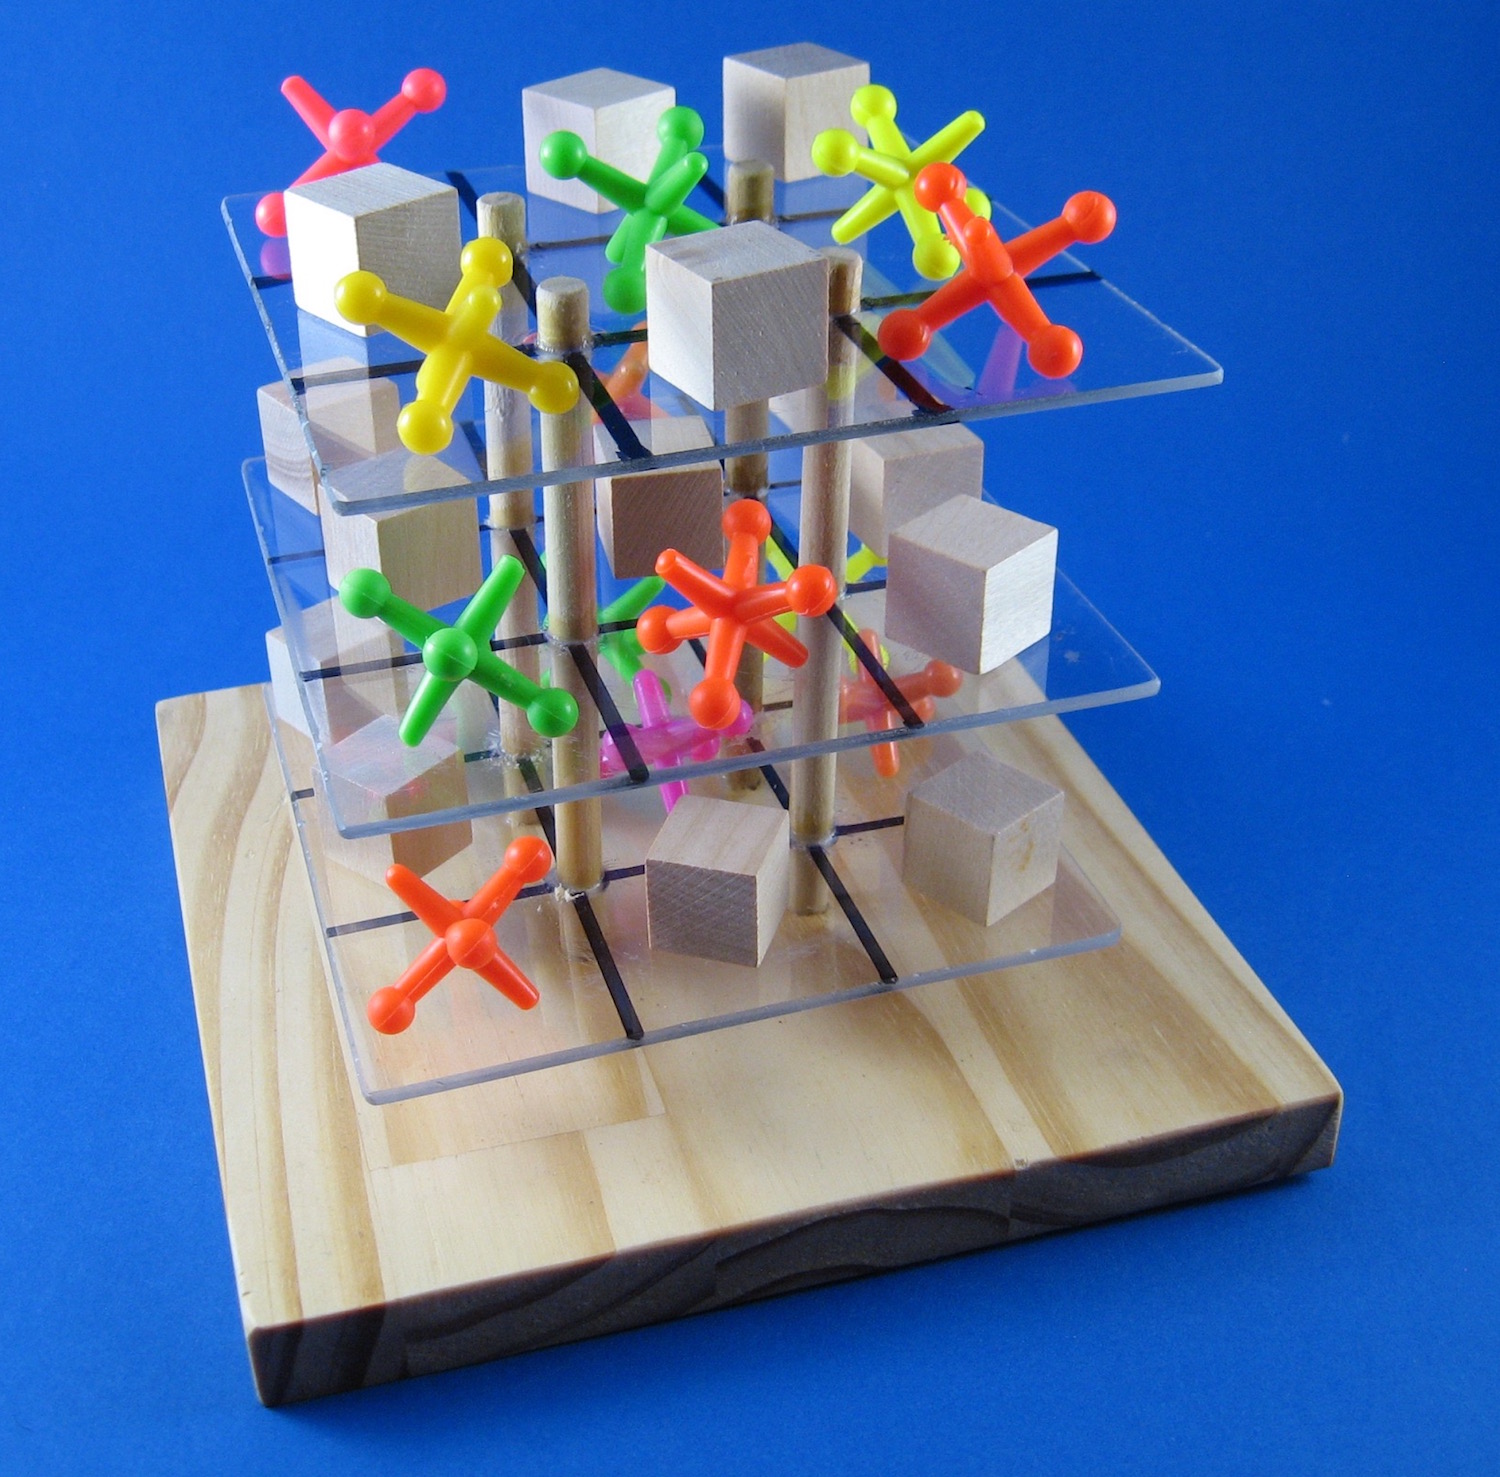
Players continue playing. Each time a player makes a 3 in a row, he or she makes a tally mark on the appropriate line of the score sheet. When all 27 spaces are filled, the players count up their scores. It’s fairly common to see both players with 4 or 5 tallies in a game. This is a good exercise in transferring 2-dimensional perception into 3-dimensional space.
For Xs, I use large Jacks and for Os, 2-centimeter cubes.
The base is ¾” pine board. The posts are 5/16” dowels. The square platforms are 1/8” clear acrylic (or “plexiglass”), 6” on a side.
I scrapped a couple of these before getting it right. I measured and drew the grid on a paper square, then aligned and clamped the paper square, the 3 acrylic squares, and the base in place and drilled the holes through all 4 layers, being careful to drill vertically. Mark the 3 acrylic squares so you stack them in the same order on the dowels as you drilled them. Once the holes are drilled you can draw the lines on the acrylic with a permanent marker.
Cut the dowels and glue them into place in the base first. After the wood glue has dried, then you can push the acrylic squares down onto the dowels and glue them.
The acrylic can be cut with a utility knife if you’re patient enough to score it several times, after which it can be snapped. I'd rather cut it with a table saw, and then sand the edges. You’ll want to sand or file the edges and corners however you cut it.
To attach the acrylic to the dowels I used JConcepts Advanced Formulated Tire Glue, which I found at a model shop. It’s a thin, fast-drying, neat glue that adheres well to both wood and acrylic. There are undoubtedly others that would work. Test them with scraps first, though, because there are plenty that don’t.
The rules and a score sheet are attached. We’ve used this at Math Nights and both adults and children have a great time with it.


